User onboarding and account funding
Use Plaid to simplify your onboarding and funding flow
In this guide, we first walk through setting up an account linking flow that uses Plaid to connect your user's bank account. We'll then demonstrate how to verify the identity of your users which may help comply with KYC and AML regulations.
Finally, we’ll show how how to initiate payments while requiring that bank accounts involved in money movements are verified.
Before you get started
The Auth, Identity, and Payment Initiation products covered in this guide can immediately be tried out in the Sandbox environment, which uses test data and does not interact with financial institutions.
To gain access to these products in the Production environments, request product access or contact Sales. If you already are using Plaid products, you can also request access by contacting your account manager or submitting a Support ticket.
User onboarding

link_token by using the/link/token/create endpoint and passes the temporary token to your Client app.
link_token to initiate a Link flow for your user. The onSuccess callback signals that the user has granted your app access to their financial institution.
onSuccess payload contains a public_token which, after sending it to your backend, needs to be exchanged for a long-lived access token using the /item/public_token/exchange endpoint.
/auth/get or their identity information (such as their full name) via /identity/get.Adding the Auth and Identity products to your app
The steps listed above are broken down into more detail in the guides linked below. The first guide covers adding the Auth product (e.g. for obtaining the user’s bank account numbers). The second covers the Identity product (e.g. for obtaining the user’s legal name). Both guides describe almost identical steps, so you can follow either one.
The next section will highlight the single difference between the two and will show how you can use both products at the same time.
Creating a Link token
Link token creation is the only step requires changes when requesting both Auth and Identity-related information. To do so, pass both products as part of the /link/token/create request.
1curl -X POST https://sandbox.plaid.com/link/token/create \2-H 'Content-Type: application/json' \3-d '{4 "client_id": "${PLAID_CLIENT_ID}",5 "secret": "${PLAID_SECRET}",6 "client_name": "Plaid Test App",7 "user": { "client_user_id": "${UNIQUE_USER_ID}" },8 "products": ["auth", "identity"], // using both products9 "country_codes": ["GB", "NL", "DE"],10 "language": "en"11 "webhook": "https://webhook.sample.com",12}'End user experience
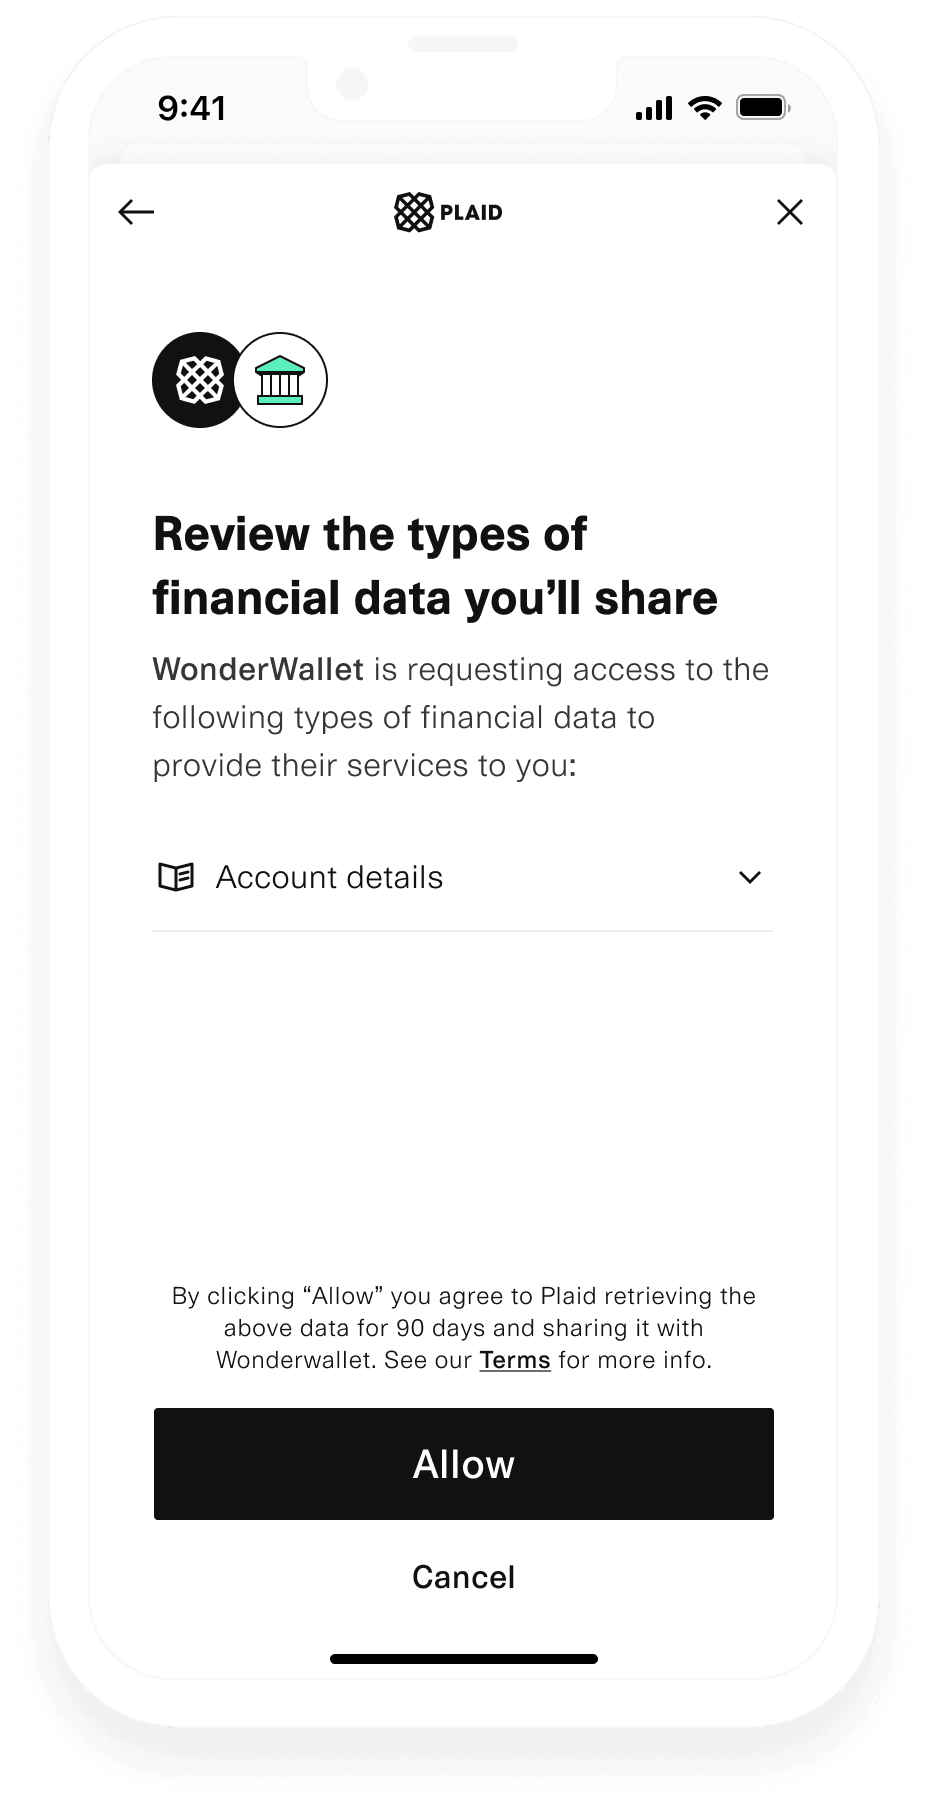
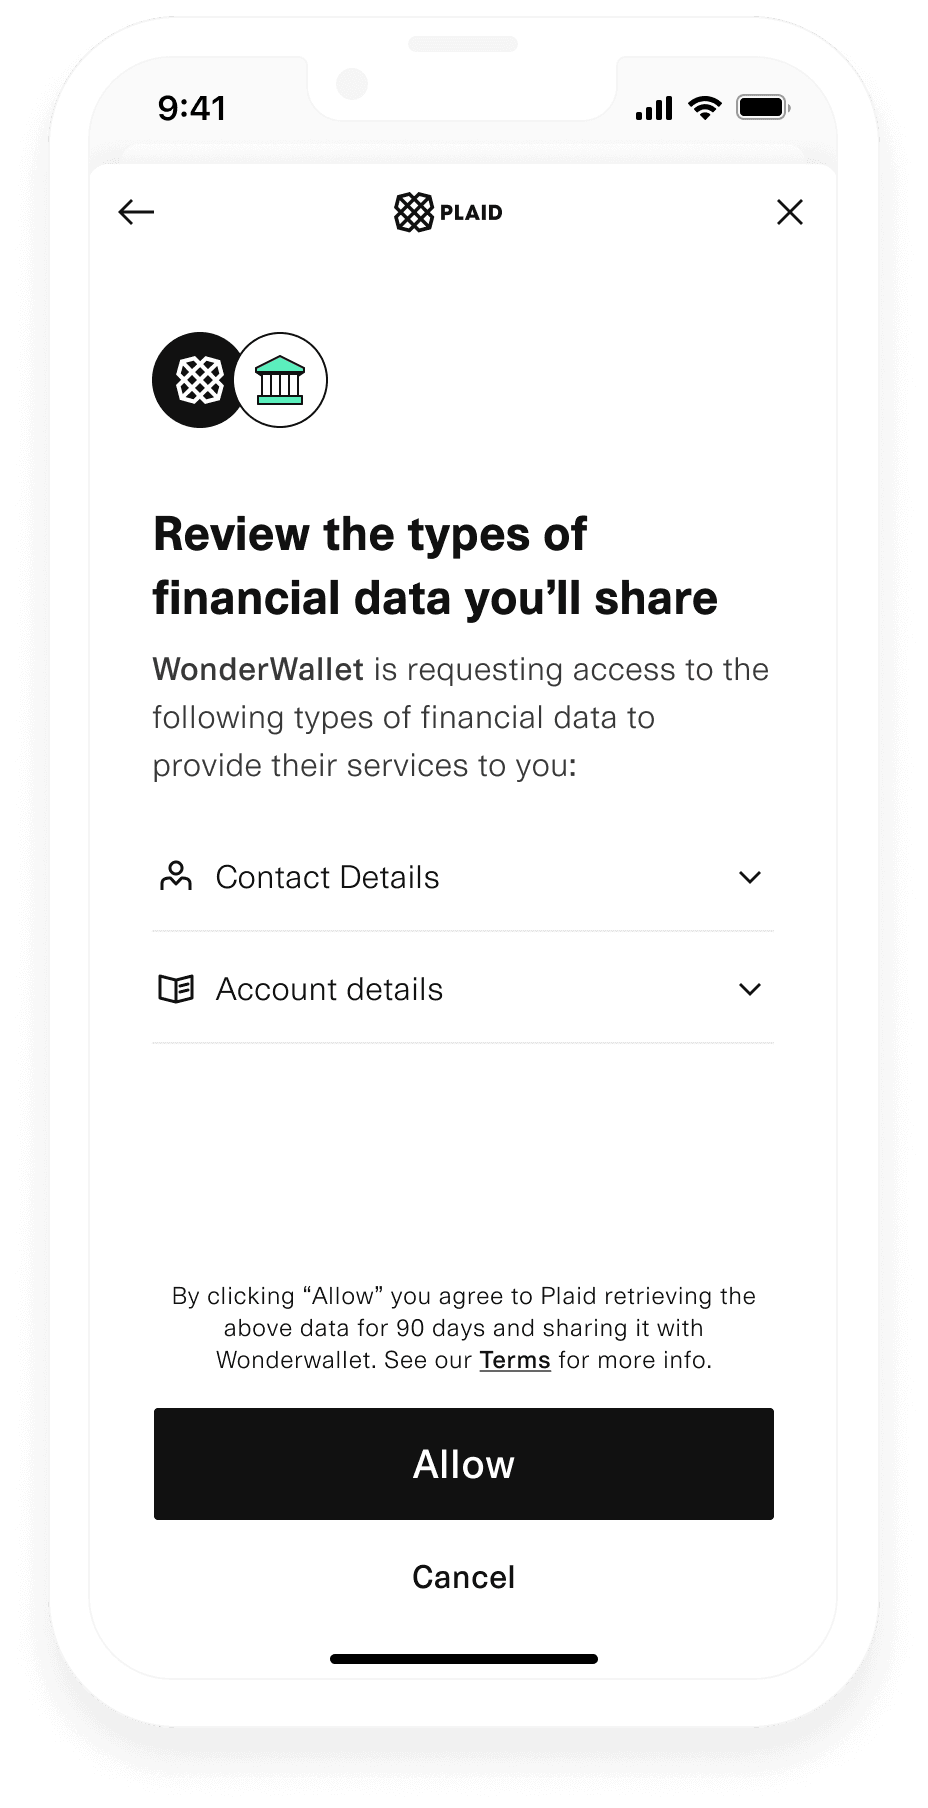
During the Link flow, your user grants permission to all the data products that you request. The images below demonstrate examples of the panes Link will present when requesting access to one or multiple products.
Account funding and withdrawal best practices
This section describes how to use the access_token that was obtained earlier to improve your user's account funding and withdrawal experiences.
Payment Initiation is offered only in Europe. For the US, see Transfer.
Payments in Europe are powered by the Payment Initiation product. See the Add Payment Initiation to your app guide to learn more about setting it up.
The following sections expand on this guide by providing compliance and conversion best practices.
Preselecting a financial institution
By default, Plaid will ask the user to manually select their financial institution. However, there might be cases where you already know which institution your user wants to use. For example, when your user has previously completed a sign up flow, you can increase conversion by skipping this part of the payment flow. This requires two steps:
- Call
/item/getwith theaccess_tokenas an input parameter. This endpoint will return theinstitution_idas part of the response. - Provide the
institution_idas part of the payment/link/token/createrequest.
1curl -X POST https://sandbox.plaid.com/link/token/create \2-H 'Content-Type: application/json' \3-d '{4 "client_id": "${PLAID_CLIENT_ID}",5 "secret": "${PLAID_SECRET}",6 "client_name": "Plaid Test App",7 "user": { "client_user_id": "${UNIQUE_USER_ID}" },8 "products": ["payment_initiation"],9 "country_codes": ["GB", "NL", "DE"],10 "language": "en"11 "webhook": "https://webhook.sample.com",12 "payment_initiation": { "payment_id": "${PAYMENT_ID}" },13 "institution_id": "${INSTITUTION_ID}" // preselect institution_id14}'Compliant account funding
To help comply with KYC & AML regulations you may choose to restrict payments to your app from bank accounts whose owner was previously verified.
Payment Initiation can support this flow by requiring that a payment is to be made from a specific account. The process has three steps:
- Call
/auth/getwith theaccess_tokenas an input parameter. This endpoint will return the user’s account numbers as part of the response (Usebacsfor the UK andinternationalfor the rest of Europe). - Provide one of the account numbers under
optionsas part of the/payment_initiation/payment/createrequest. See the snippet below as an example. - Provide the
institution_idas part of the/link/token/createrequest, as described in the previous section.
Not all financial institutions support this feature. In the UK there is full support. In the rest of Europe, support may be limited. Plaid will let the user choose any account when their financial institution does not support this feature. It is recommended to also verify the origin of payments as part of your payment reconciliation process.
1curl -X POST https://sandbox.plaid.com/payment_initiation/payment/create \2-H 'Content-Type: application/json' \3-d '{4 "client_id": "${PLAID_CLIENT_ID}",5 "secret": "${PLAID_SECRET}",6 "recipient_id": "${RECIPIENT_ID}",7 "reference": "Sample reference",8 "amount": {9 "currency": "GBP",10 "amount": 1.9911 },12 "options": { // additional payee account restriction13 "bacs": {14 "account": "26207729",15 "sort_code": "560029"16 }17 }18}'Compliant withdrawals
To comply with KYC & AML regulations, you may want to restrict outbound money movements to accounts whose owner is verified. You can do this in the following ways:
Using Virtual Accounts
Make sure your virtual account is set up before following these steps. For more information on setting up an account, see Managing virtual accounts.
- Follow the Payment Confirmation flow to confirm that funds have settled in your virtual account.
- Fetch the payment object by calling
/payment_initiation/payment/getwith thepayment_idof the payment you initiated. The payment object will contain atransaction_id, which corresponds to the payment's underlying virtual account transaction. - Fetch the virtual account transaction by calling
/wallet/transaction/getwith thetransaction_id. - The virtual account transaction will contain account details in the
counterpartyfield. - Execute a Payout using the
counterpartydetails.
Using Auth data
- Call
/auth/getwith theaccess_tokenas an input parameter. This endpoint will return the user’s verified account numbers as part of the response (Usebacsfor the UK andinternationalfor the rest of Europe). - Select accounts that can receive funds by filtering for
account.subtype = "checking". - Initiate the withdrawal to any of the filtered accounts. You may want to let the user choose a preferred account in case there are multiple.
Using the request_refund_details flag
This approach is not recommended since it is an optional flag with limited incomplete coverage dependent on the financial institution a payment was initiated to.
- Go through the Payment Initiation flow and initiate a payment with the
request_refund_detailsflag enabled. - Fetch the payment object by calling
/payment_initiation/payment/getand parse therefund_detailsfield. - Initiate the withdrawal to account specified in the
refund_detailsfield.
Next steps
If you're ready to launch to Production, see the Launch checklist.