Add One-Time Payment Initiation to your app
Learn how to use one-time Payment Initiation in your application
In this guide, we start from scratch and walk through how to set up a one-time Payment Initiation flow. For a high-level overview of all our payment related offerings, see the Introduction to Payments (Europe).
For an example guide to using one-time Payment Initiation as part of an integrated onboarding flow with other Plaid products, see Onboarding and account funding guide.
This guide describes the latest integration pattern for one-time Payment Initiation, which uses a user_id to represent the sender. A user_id is required for new clients integrating with Payment Initiation. A user_id remains optional for existing integrations. For more information about user_id, see User APIs.
Get Plaid API keys and complete application and company profile
If you don't already have one, you'll need to create a Plaid developer account. After creating your account, you can find your API keys under Build in the Plaid Dashboard.
You will also need to complete your application profile and company profile on the Dashboard. The information in your profile will be shared with users of your application when they manage their connection on the Plaid Portal, and must be completed before connecting to certain institutions.
Access Payment Initiation
Payments (Europe) is enabled in Sandbox by default. It uses test data and does not interact with financial institutions. You may need to request access to Payment Initiation via the Dashboard before using it in Production.
Install and initialize Plaid libraries
You can use our official server-side client libraries to connect to the Plaid API from your application:
// Install via npm
npm install --save plaid
After you've installed Plaid's client libraries, you can initialize them by passing in your client_id, secret, and the environment you wish to connect to (Sandbox or Production). This will make sure the client libraries pass along your client_id and secret with each request, and you won't need to include them in any other calls.
// Using Express
const express = require('express');
const app = express();
app.use(express.json());

const { Configuration, PlaidApi, PlaidEnvironments } = require('plaid');

const configuration = new Configuration({
  basePath: PlaidEnvironments.sandbox,
  baseOptions: {
    headers: {
      'PLAID-CLIENT-ID': process.env.PLAID_CLIENT_ID,
      'PLAID-SECRET': process.env.PLAID_SECRET,
    },
  },
});

const client = new PlaidApi(configuration);
One-time Payment Initiation flow overview
Before we jump into the code, let's see an overview of the steps needed to set up your payment with Plaid:
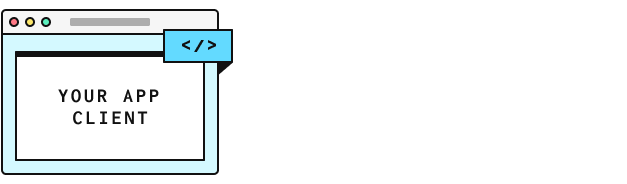
recipient_id. You can reuse this recipient_id for future payments.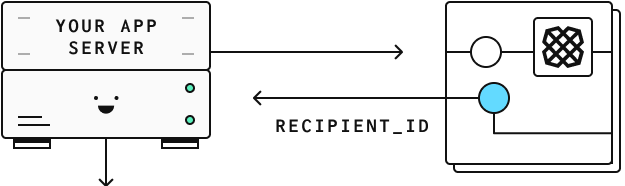
user_id. You can reuse this user_id for future payments by the same sender.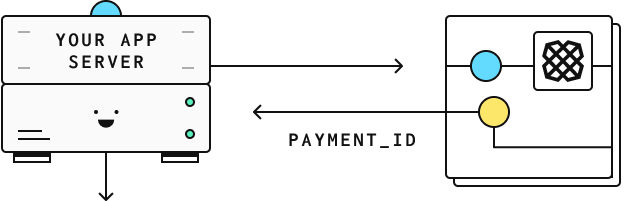
recipient_id and user_id to Plaid when you create a payment. Store the resulting payment_id along with your payment metadata.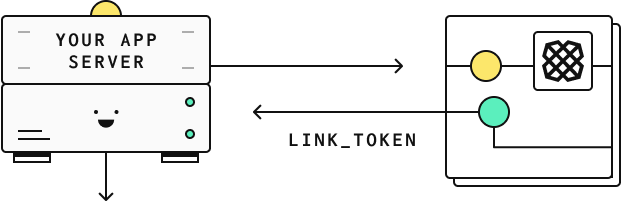
payment_id and user_id to create a link_token.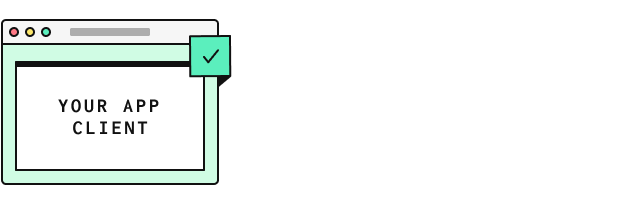
link_token to initiate a Link flow for your user. The onSuccess callback signals that the payment has been initiated.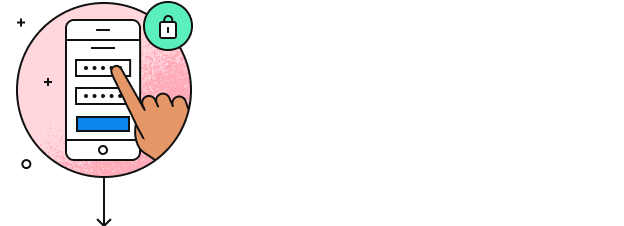
PAYMENT_STATUS_UPDATE webhooks to keep track of the payment's status.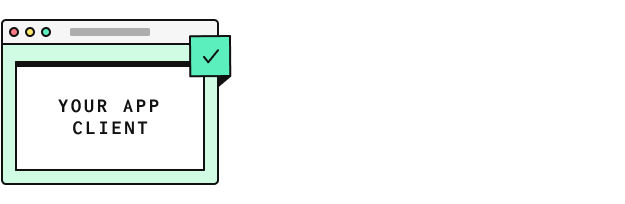
Create a recipient
Before beginning the payment initiation process, you will need to know the name and account information of the recipient. With this information in hand, you can then call /payment_initiation/recipient/create to create a payment recipient and receive a recipient_id. You can later reuse this recipient_id for future payments to the same account.
const { PaymentInitiationRecipientCreateRequest } = require('plaid');

// Using Bacs, without IBAN or address
const request: PaymentInitiationRecipientCreateRequest = {
  name: 'John Doe',
  bacs: {
    account: '26207729',
    sort_code: '560029',
  },
};
try {
  const response = await plaidClient.paymentInitiationRecipientCreate(request);
  const recipientID = response.data.recipient_id;
} catch (error) {
  // handle error
}
Create a user
Next, create a user_id to represent the sender of the payment. Call /user/create with a unique client_user_id — typically the same identifier your own application uses for the currently signed-in user — along with an identity object describing the sender.
The identity object must include the sender's name, plus at least one of emails or phone_numbers. Phone numbers should be supplied in E.164 format, for example +441632960123. All other fields in the identity object are optional.
/user/create is idempotent: calling it again with the same client_user_id returns the same user_id, so you can reuse a user_id for future payments by the same sender. For the full request schema and the other User endpoints, see User endpoints.
const { UserCreateRequest } = require('plaid');

const request: UserCreateRequest = {
  client_user_id: 'user-abc-123',
  identity: {
    name: {
      given_name: 'John',
      family_name: 'Doe',
    },
    emails: [{ data: 'john.doe@example.com', primary: true }],
  },
};
try {
  const response = await plaidClient.userCreate(request);
  const userID = response.data.user_id;
} catch (error) {
  // handle error
}
Create a payment
Now that you have the recipient_id and the user_id, you can provide them together with the payment amount to /payment_initiation/payment/create, which returns a payment_id.
const { PaymentInitiationPaymentCreateRequest } = require('plaid');

const request: PaymentInitiationPaymentCreateRequest = {
  recipient_id: recipientID,
  user_id: userID,
  reference: 'TestPayment',
  amount: {
    currency: 'GBP',
    value: 100.00,
  },
};
try {
  const response = await plaidClient.paymentInitiationPaymentCreate(request);
  const paymentID = response.data.payment_id;
  const status = response.data.status;
} catch (error) {
  // handle error
}
Make sure to store the payment_id in your backend together with your own metadata (e.g. your internal client_user_id). You can use this later to process the payment status updates
Create a link_token
Before initializing Link, you need to create a new link_token on the server side of your application.
A link_token is a short-lived, one-time use token that is used to authenticate your app with Link.
You can create one using the /link/token/create endpoint. Then, on the client side of your application, you'll need to initialize Link with the link_token that you created. This will bring up the payment initiation flow in Link that allows your end user to confirm the payment.
When calling /link/token/create to create a token for use with Payment Initiation, you provide the payment_id and the user_id, and specify payment_initiation as the product.
The top-level user_id is the Plaid-generated identifier returned by /user/create, and must match the user_id you provided when creating the payment. The user.client_user_id value is your own application's identifier for the signed-in user and is primarily used for logging, which is why both are supplied.
While it is possible to initialize Link with many products, payment_initiation cannot be specified along with any other products and must be the only product in Link's product array if it is being used.
In the code samples below, you will need to replace PLAID_CLIENT_ID and PLAID_SECRET with your own keys, which you can get from the Dashboard.
// Using Express
app.post('/api/create_link_token', async function (request, response) {
  const configs = {
    user: {
      // This should correspond to a unique id for the current user.
      client_user_id: 'user-id',
    },
    user_id: userID,
    client_name: 'Plaid Test App',
    products: [Products.PaymentInitiation],
    language: 'en',
    webhook: 'https://webhook.sample.com',
    country_codes: [CountryCode.Gb],
    payment_initiation: {
      payment_id: paymentID,
    },
  };
  try {
    const createTokenResponse = await client.linkTokenCreate(configs);
    response.json(createTokenResponse.data);
  } catch (error) {
    // handle error
  }
});
Once you have exposed an endpoint to create a link_token in your application server, you now need to configure your client application to import and use Link.
Launch the payment initiation flow in Link
Plaid Link is a drop-in module that provides a secure, elegant authentication flow for the many financial institutions that Plaid supports. Link makes it secure and easy for users to connect their bank accounts to Plaid. Because Link has access to all the details of the payment at the time of initialisation, it will display a screen with the payment details already populated. All your end user has to do is log in to their financial institution through a Link-initiated OAuth flow, select a funding account, and confirm the payment details.
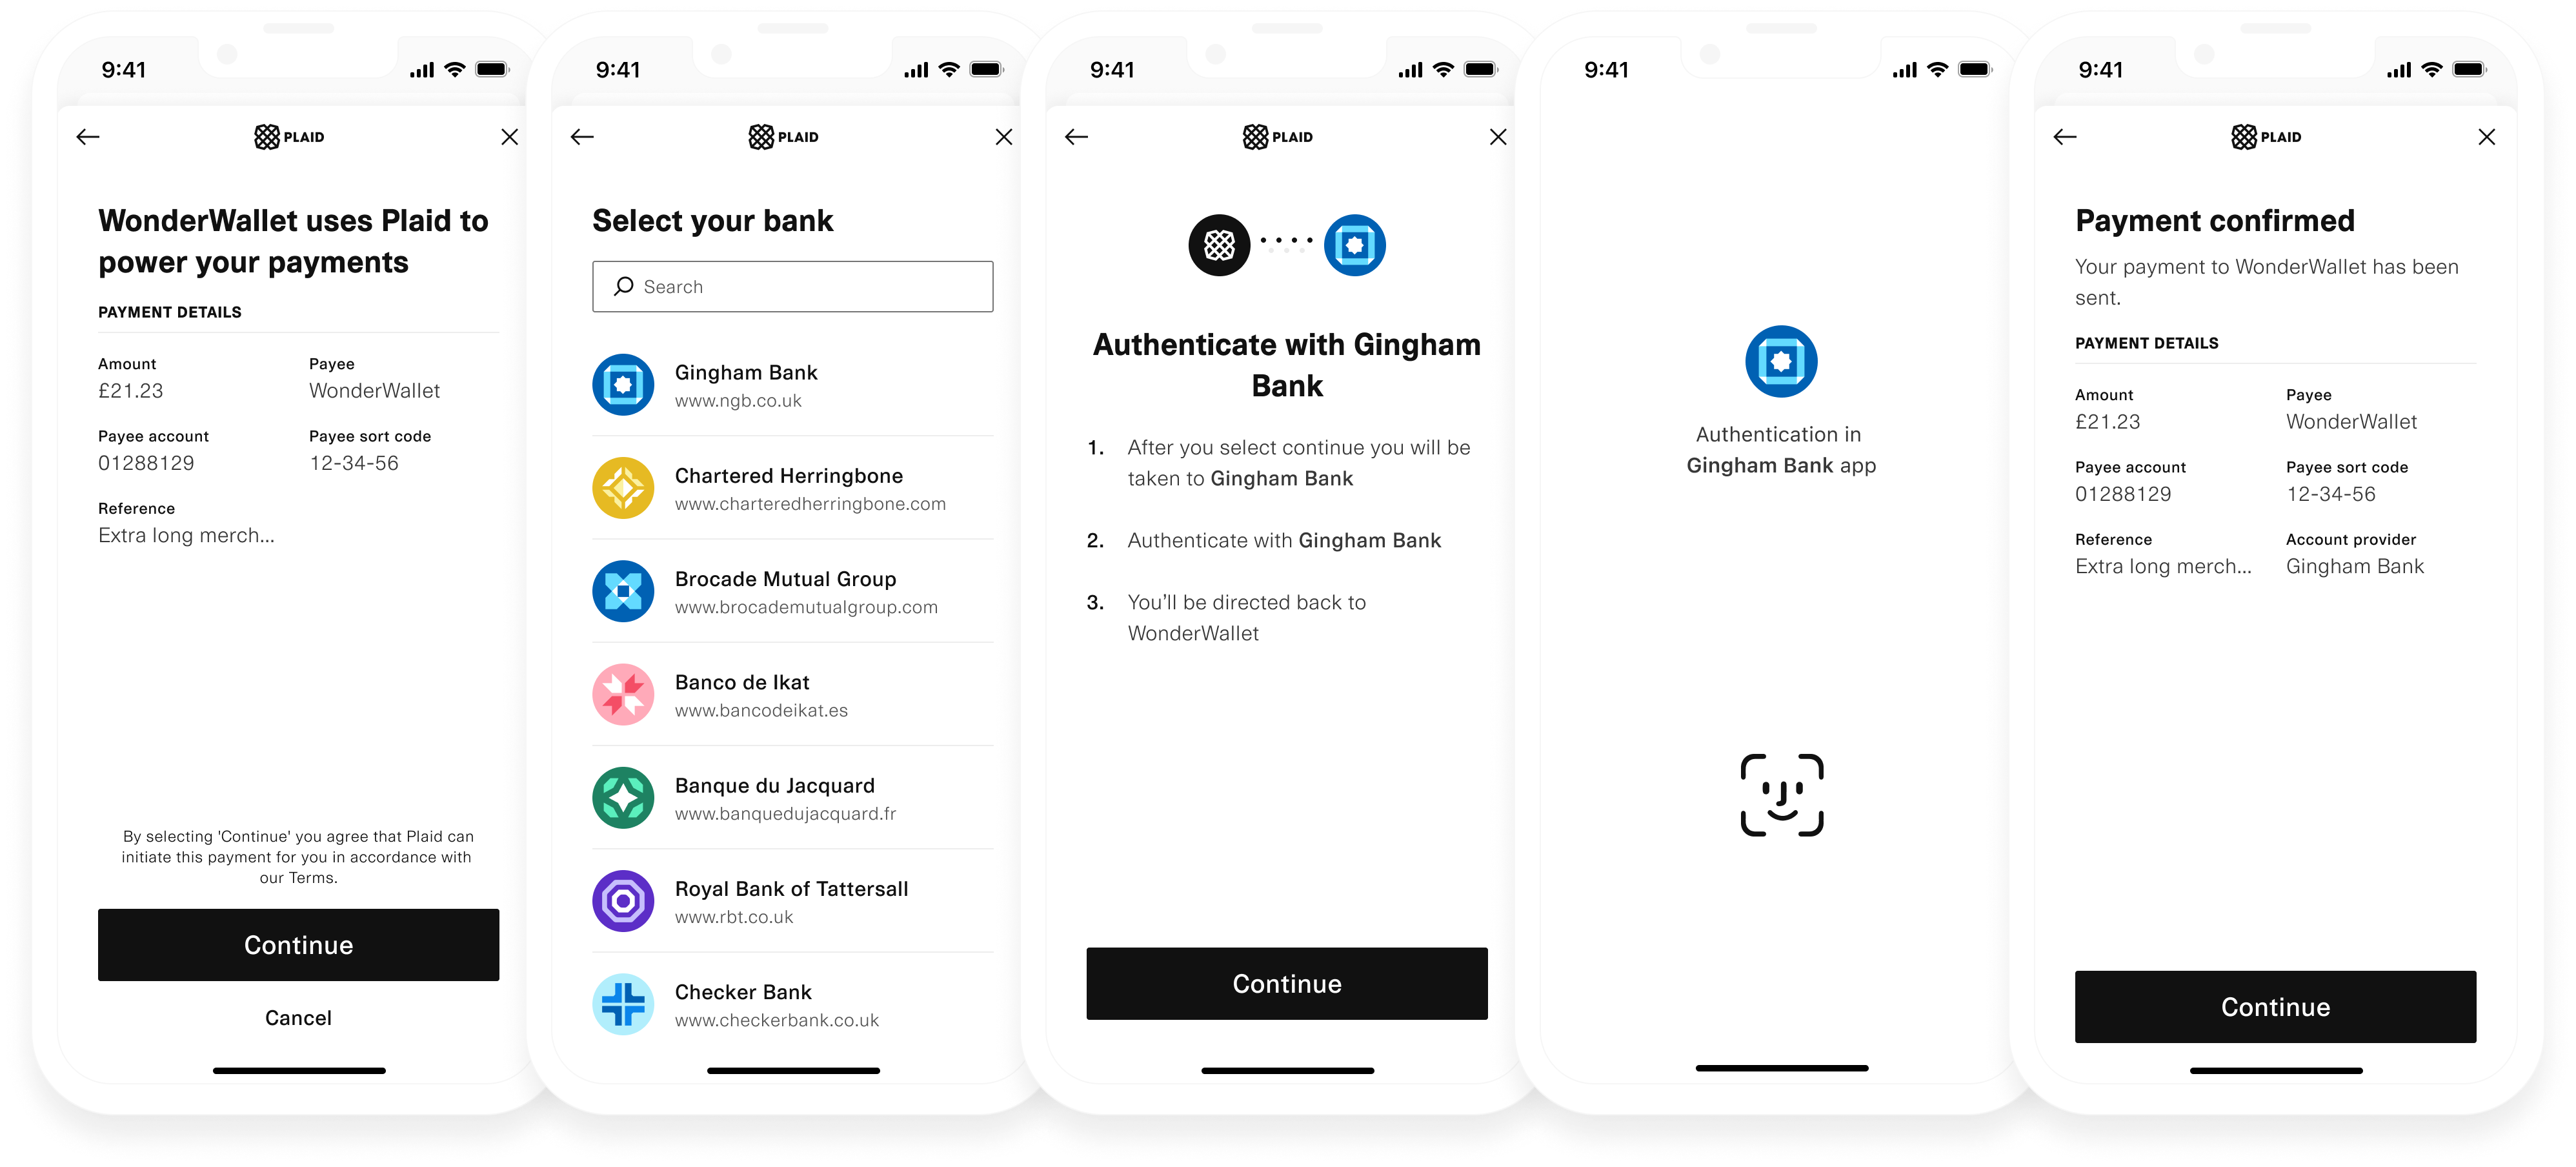
Note that these instructions cover Link on the web. For instructions on using Link within mobile apps, see the Link documentation. If you want to customise Link's look and feel, you can do so from the Dashboard.
Install Link dependency
<head>
  <title>Link for Payment Initiation</title>
  <script src="https://cdn.plaid.com/link/v2/stable/link-initialize.js"></script>
</head>
Configure the client-side Link handler
Plaid communicates to you certain events that relate to how the user is interacting with Link. What you do with each of these event triggers depends on your particular use case, but a basic scaffolding might look like this:
const linkHandler = Plaid.create({
  // Create a new link_token to initialize Link
  token: (await $.post('/create_link_token')).link_token,
  onSuccess: (public_token, metadata) => {
    // Show a success page to your user confirming that the
    // payment will be processed.
    //
    // The 'metadata' object contains info about the institution
    // the user selected.
    // For example:
    //  metadata  = {
    //    link_session_id: "123-abc",
    //    institution: {
    //      institution_id: "ins_117243",
    //      name:"Monzo"
    //    }
    //  }
  },
  onExit: (err, metadata) => {
    // The user exited the Link flow.
    if (err != null) {
      // The user encountered a Plaid API error prior to exiting.
    }
    // 'metadata' contains information about the institution
    // that the user selected and the most recent API request IDs.
    // Storing this information can be helpful for support.
  },
  onEvent: (eventName, metadata) => {
    // Optionally capture Link flow events, streamed through
    // this callback as your users connect with Plaid.
    // For example:
    //  eventName = "TRANSITION_VIEW",
    //  metadata  = {
    //    link_session_id: "123-abc",
    //    mfa_type:        "questions",
    //    timestamp:       "2017-09-14T14:42:19.350Z",
    //    view_name:       "MFA",
    //  }
  },
});

linkHandler.open();
Unlike other products, for payment_initiation it is not necessary to exchange the public_token for an access_token. You only need the payment_id to interact with the payment_initiation endpoints.
Verify payment status
Listening for status update webhooks
Once the payment has been authorised by the end user and the Link flow is completed, the onSuccess callback is invoked, signaling that the payment status is now PAYMENT_STATUS_AUTHORISING.
From this point on, you can track the payment status using the PAYMENT_STATUS_UPDATE webhook that is triggered by Plaid when updates occur:
- Updates are sent by Plaid to the configured webhook URL to indicate that the status of an initiated payment has changed. All Payment Initiation webhooks have a
webhook_typeofPAYMENT_INITIATION. - Once you receive the status update, use the
payment_idfield to retrieve the payment's metadata from your database. - From the status update object, use the
new_payment_statusfield to decide what action needs to be taken for this payment. For example, you may treatPAYMENT_STATUS_INITIATEDas your primary success signal, withPAYMENT_STATUS_EXECUTEDas supplementary confirmation if and when it arrives, or notify the user that their payment got rejected (PAYMENT_STATUS_REJECTED).
PAYMENT_STATUS_SETTLED is the only status that confirms funds have arrived at the destination account, and it is available only via Virtual Accounts. If your use case requires confirmation of receipt before releasing funds or goods, use Virtual Accounts, or confirm the funds have arrived in your own bank account — see Reconciliation for how to match an arriving credit back to the payment. For details on what each status does and does not guarantee, see Payment Status.
For more information, see Payment Status.
For more information on how to implement your webhook listener, see the webhooks documentation.
Sample code in Plaid Pattern
For an example implementation of Payment Initiation, see the Payment Initiation Pattern App on GitHub, which uses Payment Initiation in an account funding use case.